How To: Submit Programs to Autograder
What is Autograder? Autograder is a system that you will be submitting your lab projects to this semester. The system imposes deadlines and automatically grades your submissions as to be further discussed in the steps below. The following tutorial will show the basics of the system, including how to access it and be successful when submitting your labs.
Step 1:
As a prerequisite, you have been given the assignment details by your instructor as discussed in class, which you have completed accordingly. Before continuing to submit your program to Autograder, you should double check that your program has the required files and structure and does not produce any compilation errors. The Autograder system must be able to compile your program in order to run its tests, so it’s recommended that you test this out yourself before submitting. Your submission may be rejected if it does not compile or your final grade may be significantly lowered.
The following screenshot is a quick example of testing on a computer that the required IntArray.cpp file we plan to upload compiles before submitting. The terminal does not display any errors and an executable is produced, so we know that it’s good to go.

Step 2:
To find the Autograder homepage, ensure that you’re connected to the internet, open your web browser and go to: https://storm.cis.fordham.edu:8443/

Step 3:
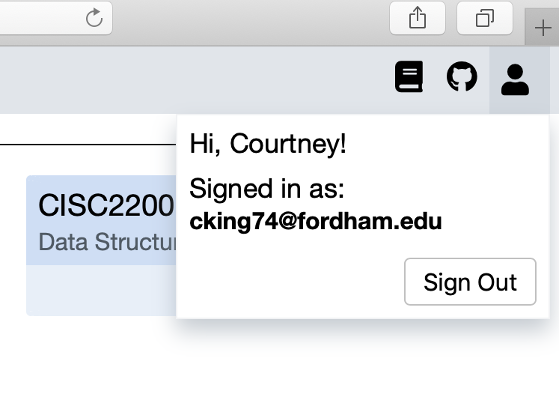
Sign in by clicking on one of the blue labeled buttons as shown above and proceeding with your fordham email address. (You must use this email address as it is the one which your instructors will use to add you to the courses.) After successfully logging in, you should see your dashboard, which will be further explained in the following step. When you click on the person icon in the top right corner, you should see your own details and a sign out button.
Step 4:
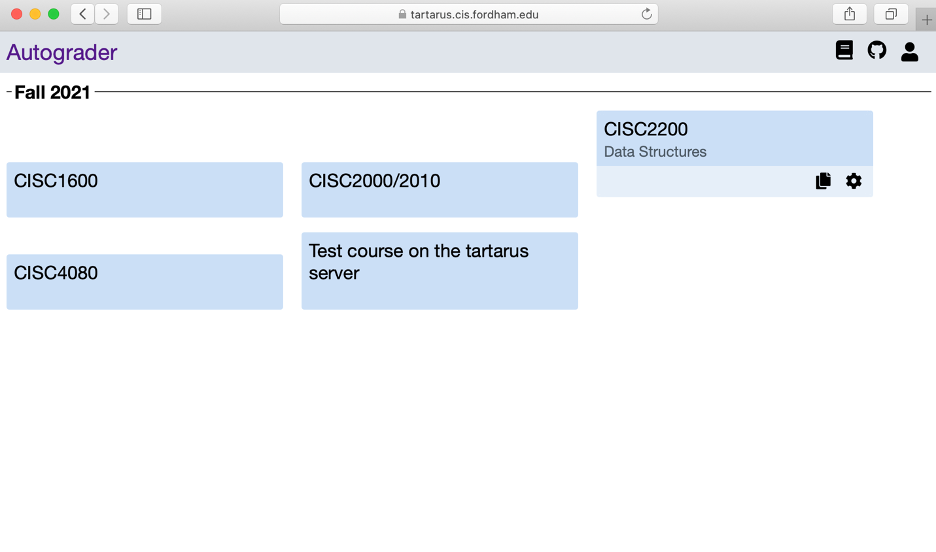
On your dashboard, you will see the courses which you are enrolled in for the current semester. If a course is missing, contact your instructor to add you to the course.
Step 5:
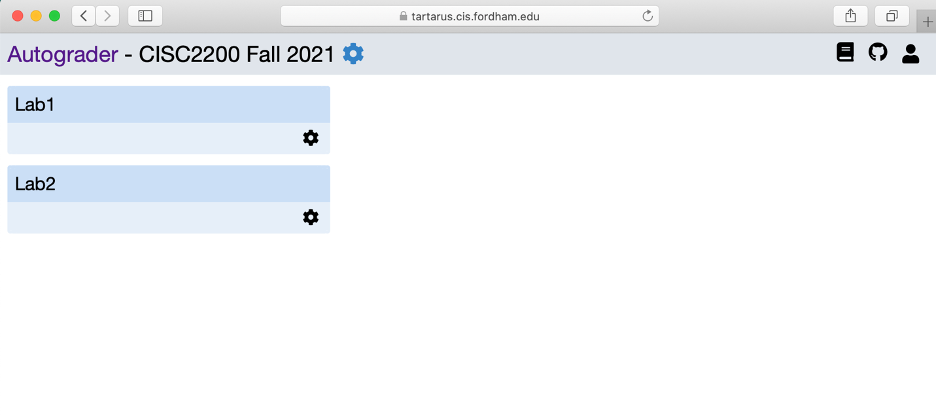
To open a course from your dashboard, simply click on the labeled box where you will be taken to the course page. (Here we’ve clicked on CISC2200 Data Structures from the previous page.) From this page, you can see the assignments currently made available to you if any. In the following screenshot, we see that we currently have two labs to complete for the course.
Step 6:
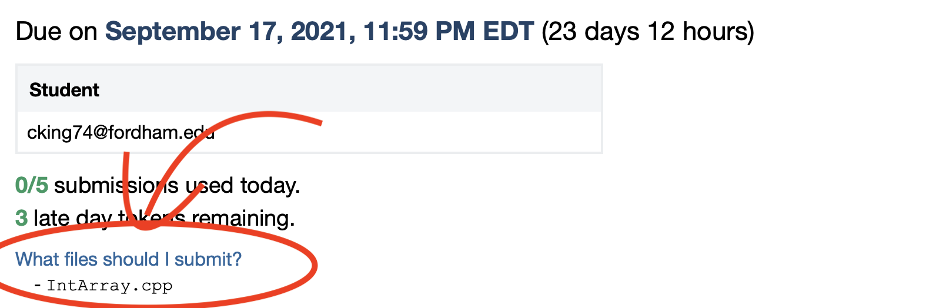
Next, open an assignment by clicking on it. You will be taken to a page containing information about the assignment, including the due date, submission history and a link to submit as shown below.
You should take note of the due date and number of allowed submissions displayed on the page as these will be limited by the system accordingly.
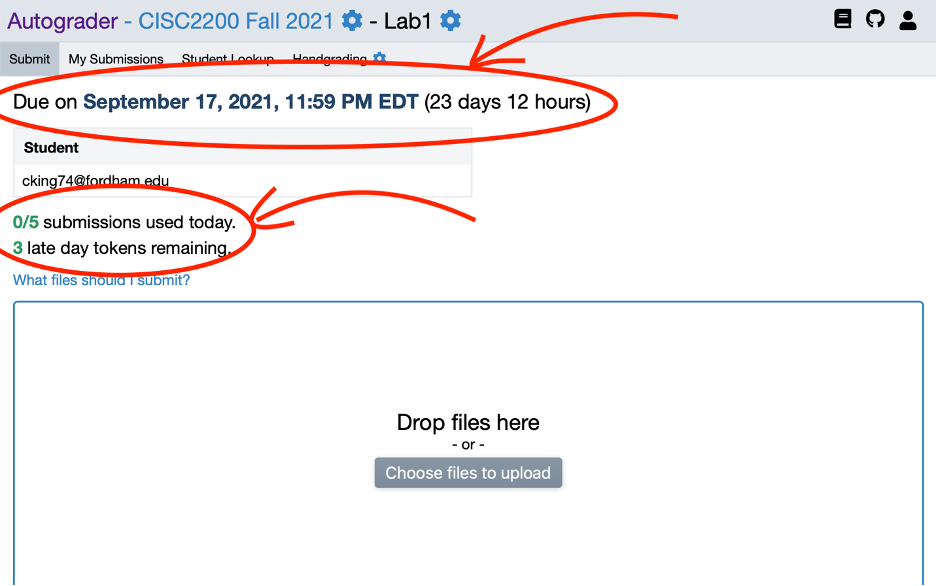
Additional submissions may be given to you by your instructor in the form of “Bonus Submission” or “Late Day” tokens. A Late Day token extends the submission deadline by 24 hours and a Bonus Submission token allows for an extra submission beyond the limit. In the above screenshot, you can also see that we have 3 Late Day tokens available for the course.
Note: Most likely your professor provides you a URL to this project’s submission page (an example is shown below). In this case, you skip 2-6 by simply typing in the URL to the browser or clicking on the link provided. You will be prompted to sign in if you haven’t done so already.
Somewhere in the lab instruction supplied by your instructor:
After you finish testing your program, go to the following link to submit it:
https://storm.cis.fordham.edu:8443/web/project/10
You are allowed 3 submissions per day, and a total of 10 submissions.
Step 7:
Click on the What Files Should I Be Submitting? link to double check the required files for the assignment. Ensure that the names of the files you plan to upload exactly match those required and that you have all of them. If they do not match, there will be a compilation error, resulting in a rejected submission or significant reduction in your grade as previously mentioned.
Step 8:
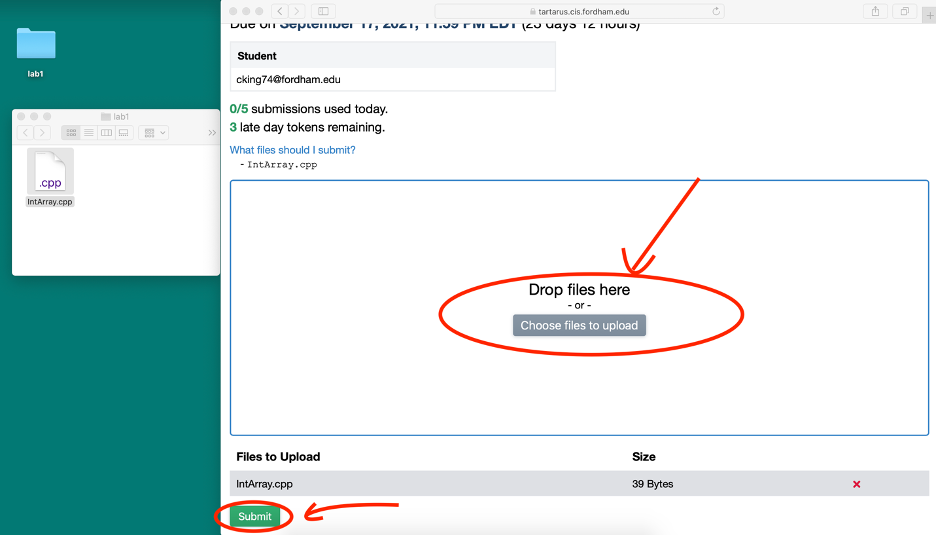
To make a submission, upload the required file(s) and then click the submit button.
Step 9:
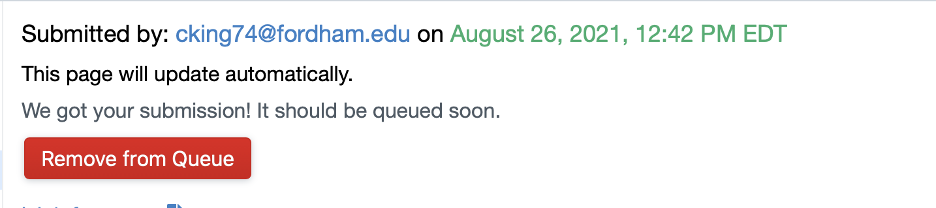
After confirming the submission, a new page will be displayed indicating that you have submitted the assignment and the autograder system will begin running tests shortly.
After the system has finished running the tests on your program, you will be able to see the details of your submission along with the results. The following shows the results of a different assignment on sorting which was submitted earlier. You can see the score and that the submission passed compilation, along with getting full points for the “Bubble Sort” and “Selection Sort” tests. These blue bars are clickable and you can find more information about each test on your submission by doing so.
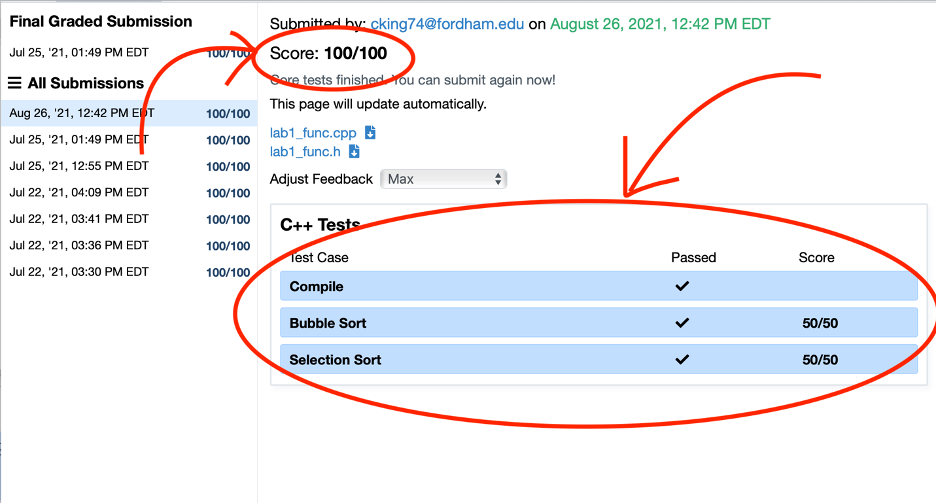
Note that the score you see may or may not be your final grade as there may be some aspects of the assignment which must be hand-graded and added in at a later time by your instructor or class TA. You can also view your submission history in the course later by clicking on the My Submissions tab.
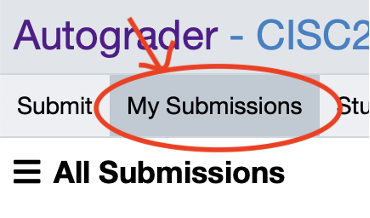
Step 10:
After the assignment is graded by your instructor or class TA, you can see the handgrading score, by clicking on the tab next to the My Submissions tab.
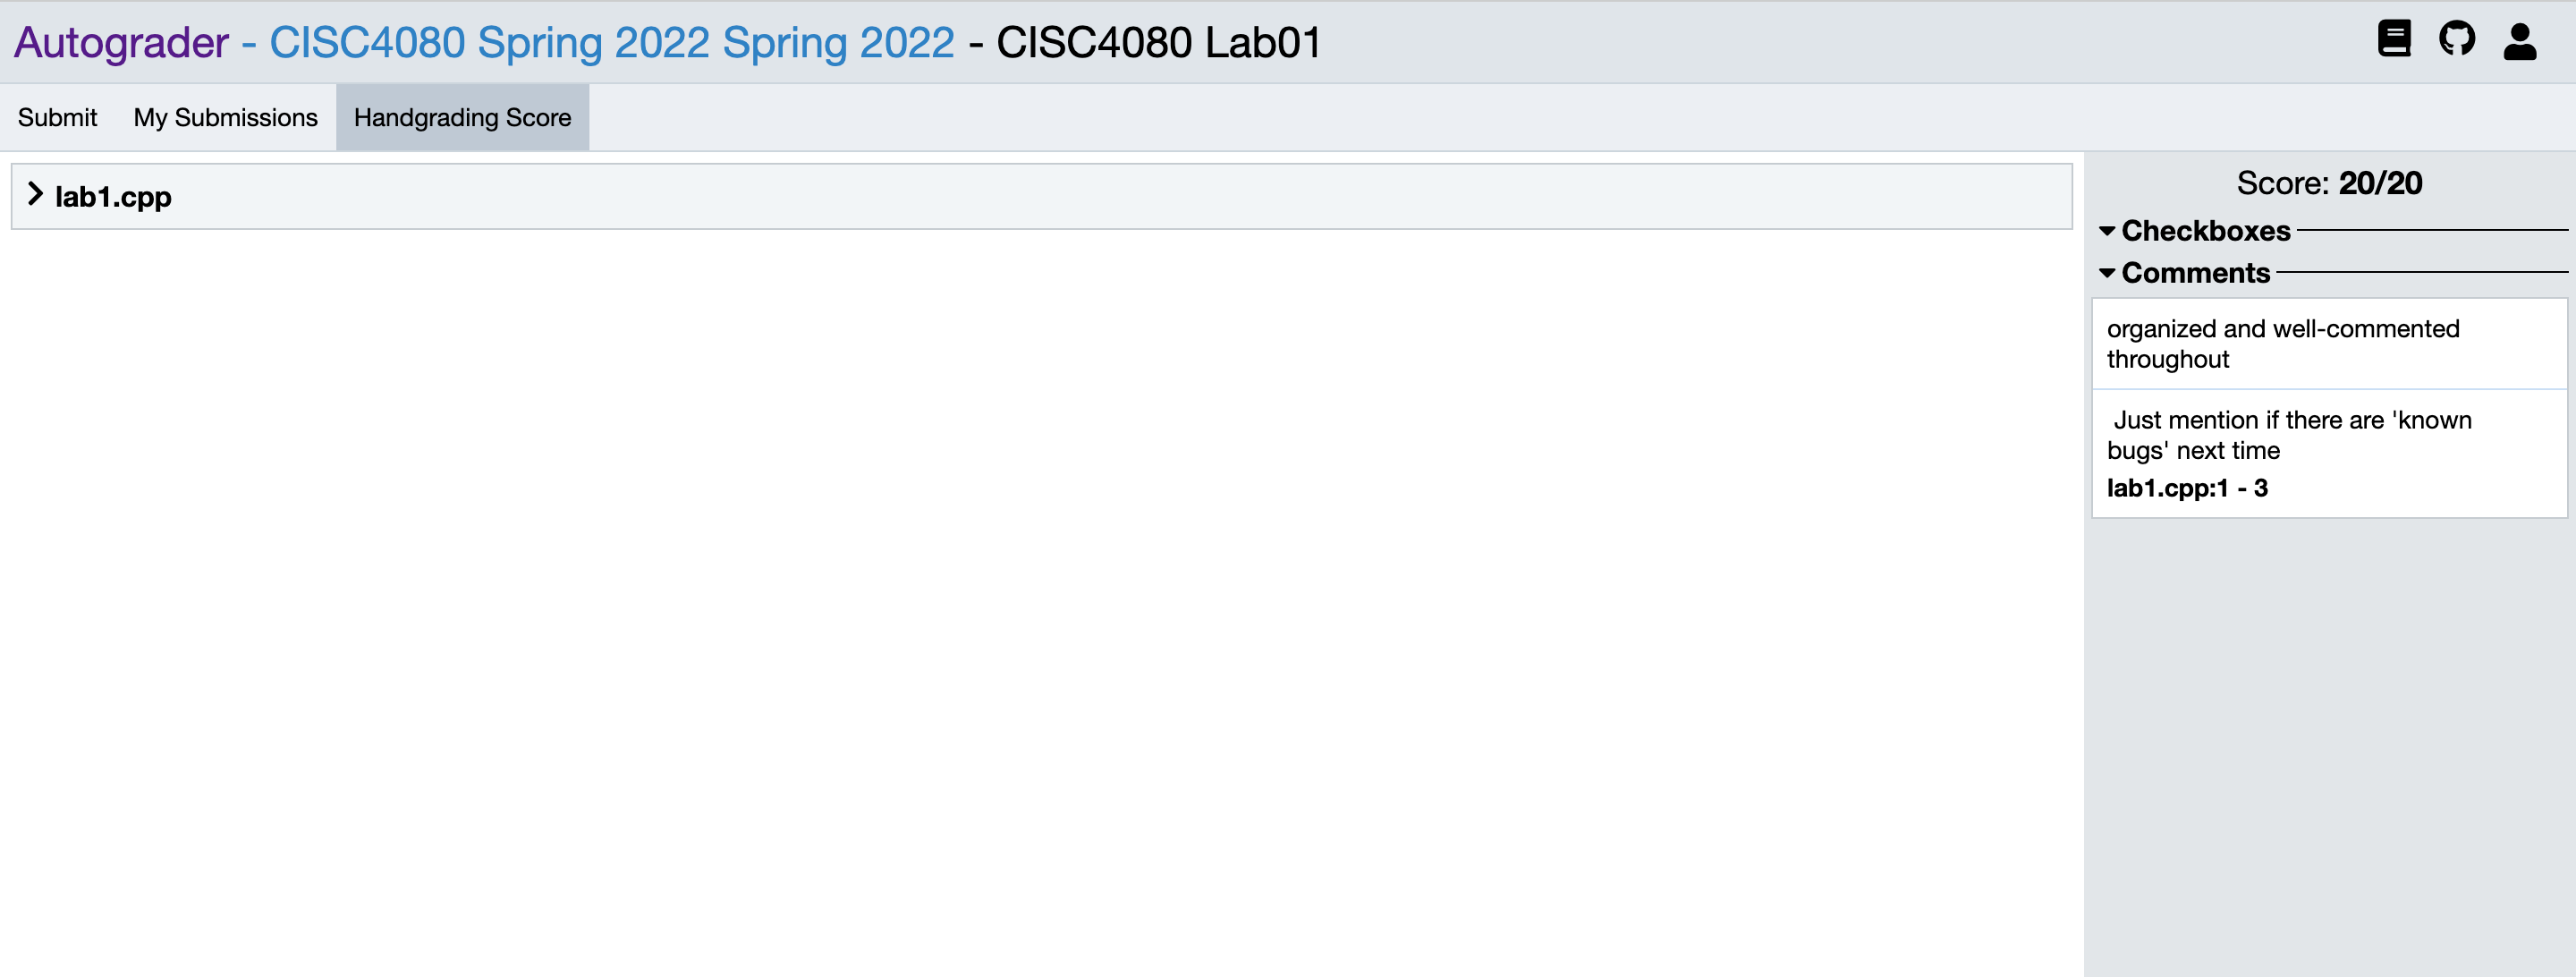
Congratulations! You now know how to submit a program to Autograder.